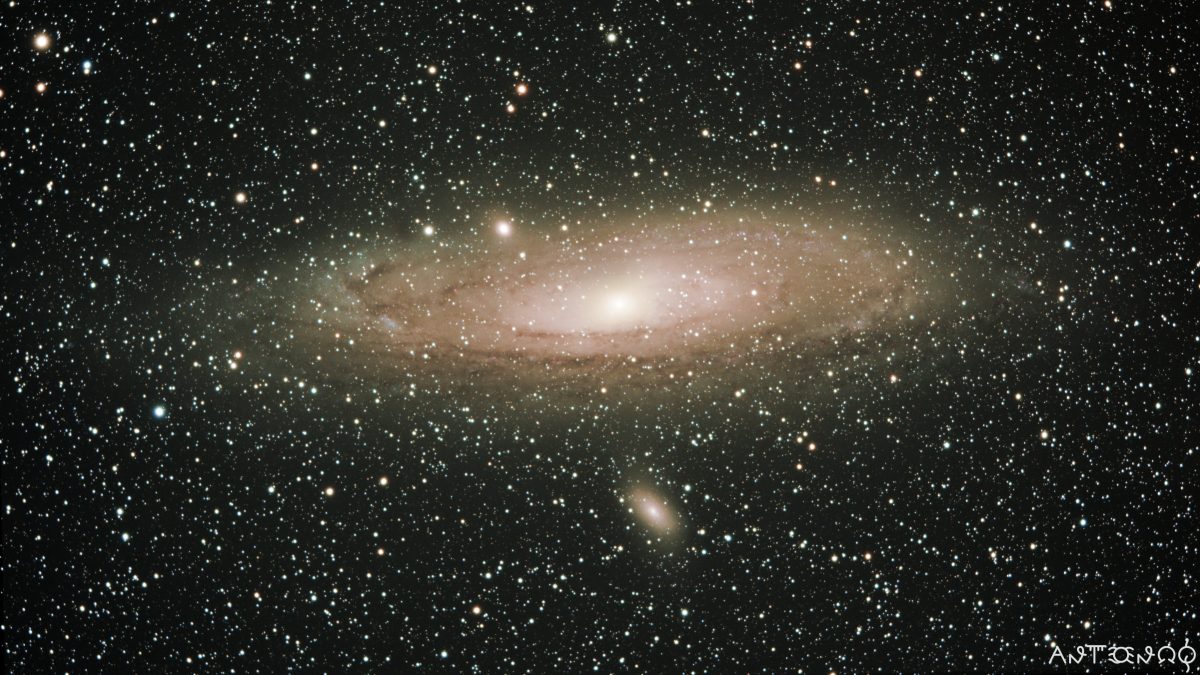
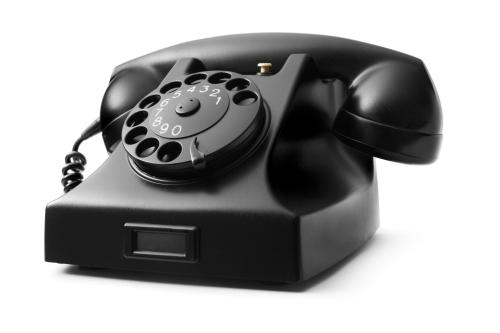
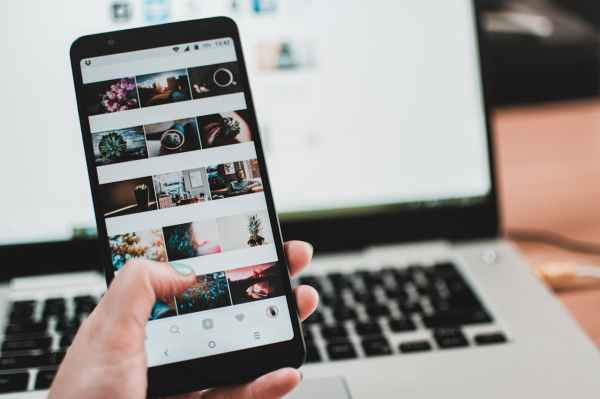
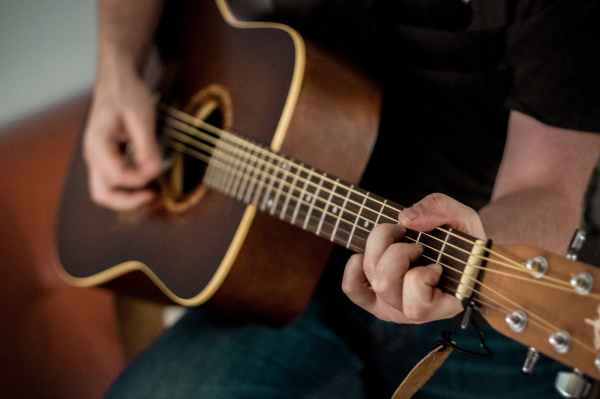
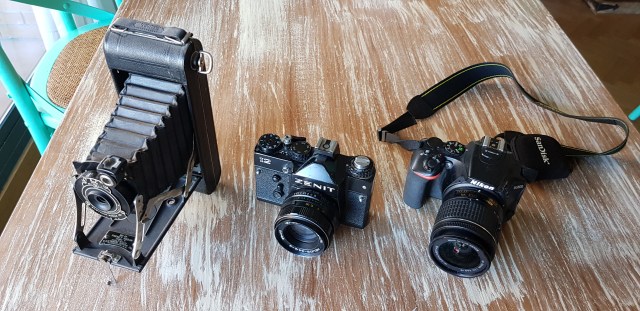
Let’s start at the beginning, these three cameras cover 100 years of technological evolution in photography. But the operation is the same in all of them, a lens that forms an image on a sensitive element (either a film or nowadays a light-sensitive chip).
And how can we control the amount of light hitting our sensitive element? Well, it hasn’t changed in those 100 years either:
- Exposure (the time the light is incident on the sensitive element)
- Diaphragm (lens aperture, F)
- Film or chip sensitivity (ISO)
Astrophotography
In astrophotography, as in daytime photography, we play with these parameters, but often forcing them. Let’s see some examples of a star field with laboratory nebulae, a painting with the kind of leds that children use to light up the room. In this case, I have reduced the luminosity of the LEDs with the advanced method of using used batteries. All state-of-the-art technology, but it will do.
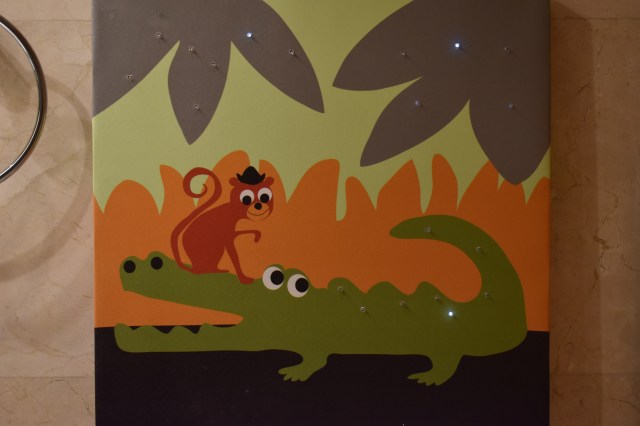
The photo above is taken in automatic mode during the day, but let’s take it at night and start playing around. First conclusion, forget the automatic mode, the autofocus, and always shoot in Manual RAW + JPG mode. It doesn’t matter if you don’t know what RAW is, use it and you will thank me.
If you don’t have a DSLR camera but you do have a mobile phone with a manual mode (“pro” mode) you can also play with it, it’s not the same but a camera is a camera.
But let’s go back to our starry laboratory sky and start the tests. Same sensitivity (ISO 400) and 4 exposures 1/30″, 5″, 15″ and 30″.
Conclusion? In astrophotography, except for the Moon and the planets, the exposures will be very long.
And if we also raise the sensitivity to the maximum, ISO 25600, again with the same exposures 1/30″, 5″, 15″ and 30″, we see the stars, the “nebulae” and a very annoying guest: noise. We will talk about it later.
The light
What about the aperture of the lens? Well, in astrophotography what we want is light, so the lens is always open to the maximum (it can be closed a little in low quality lenses). In any case, in telescopes, for example, it is not a parameter that can be varied regularly.
Easy, isn’t it? Well, it’s not. There are 4 big enemies to fight:
- The Earth moves.
- Sometimes our targets will be tiny and not very luminous.
- The streetlights (light pollution).
- Noise, those hateful little dots that also come in different flavours.
Let’s go through them one by one:
The Earth moves and will make our stars appear as lines of light rather than dots in long exposures. Stopping the planet is tricky, but we can compensate for this, and here it depends on the picture we want to get.
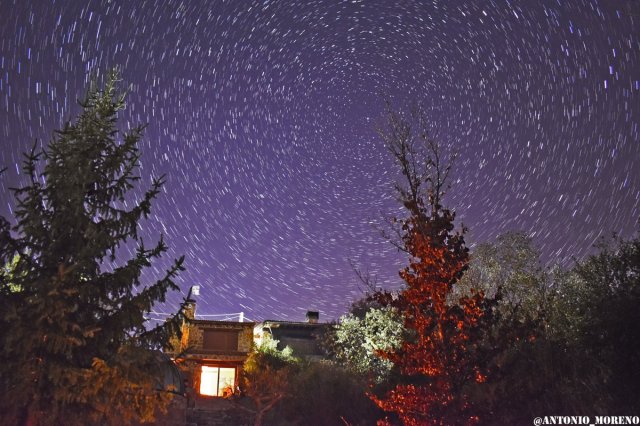
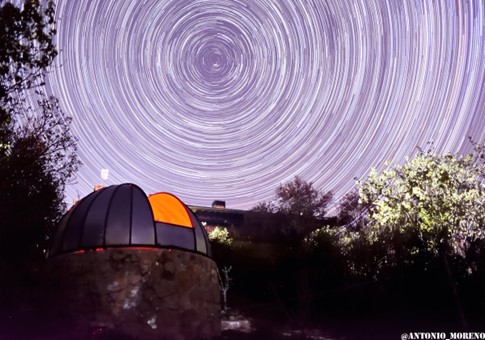
We can do nothing and use a fixed tripod with a wide angle lens and a reduced exposure (<30″). This is how the photo on the left (aurora) is taken for example. Or we can deliberately not compensate for it and get the startrail effect of the second one in extra long exposures (hours).
We can roughly compensate for this. For this purpose there are cheap mounts on the market that allow exposures of up to several minutes where the stars appear as dots. Very useful for pictures of constellations or the Milky Way.
But beware that if we want to include a landscape for a more dramatic effect the landscape will appear moved… here we enter into ethical issues, it is very easy to take different photos of each thing and then join them with Photoshop. As long as we warn everything ok, but we can’t say that we have made a “super photo” when in fact it is a “cut and paste” of several.
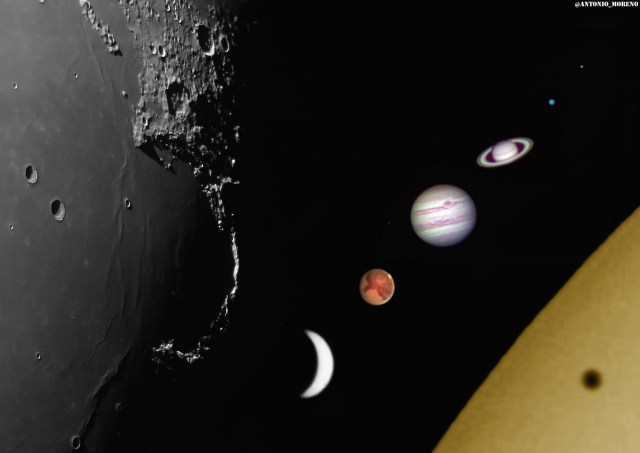
Last option, compensate for the Earth’s rotation perfectly. You need a NOT cheap mount and an autoguider system in many occasions. It is out of the scope of this post but it is what you need if you are looking for pictures of this style:
Streetlights. As a species, we have killed the night sky and light pollution is not going to get any better. Except for planets and the Moon, we have to look for rural skies where we can enjoy dark nights (and no Moon of course!). You have to see it as a great excuse to travel.
Next problem, tiny and dim objects. Except for wide-angle panoramas we have to resort to telephoto lenses and telescopes. But maybe this is not the best way to start…you can take great astrophotos without telescopes.
Last problem: noise. It comes in different forms:
- Noise that appears at long exposures and high ISO.
- Noise inherent to the chip itself, which is highly temperature-dependent.
- Random noise due to atmospheric turbulence.
- Noise… too much noise.
What do we do with the noise then? You have to look for the optimal combination of ISO and exposure. Trial and error. And if we still don’t capture enough light or there is too much noise, then it’s time to “add and average” photos. This is the concept behind stacking images. Remember our laboratory sky?
An optimal exposure could be ISO3200 45″, but it’s dark and noisy, let’s take 50 of the same photos and have a computer program add them up and stack them, that’s the secret behind images like the cover that accumulate up to hours of exposure and that’s enough for another post
In any case, don’t just say that astrophotography is complicated, everything is complicated when you want the best results.
Take your camera, a good tripod, go to a really dark sky, and use that manual mode!

